
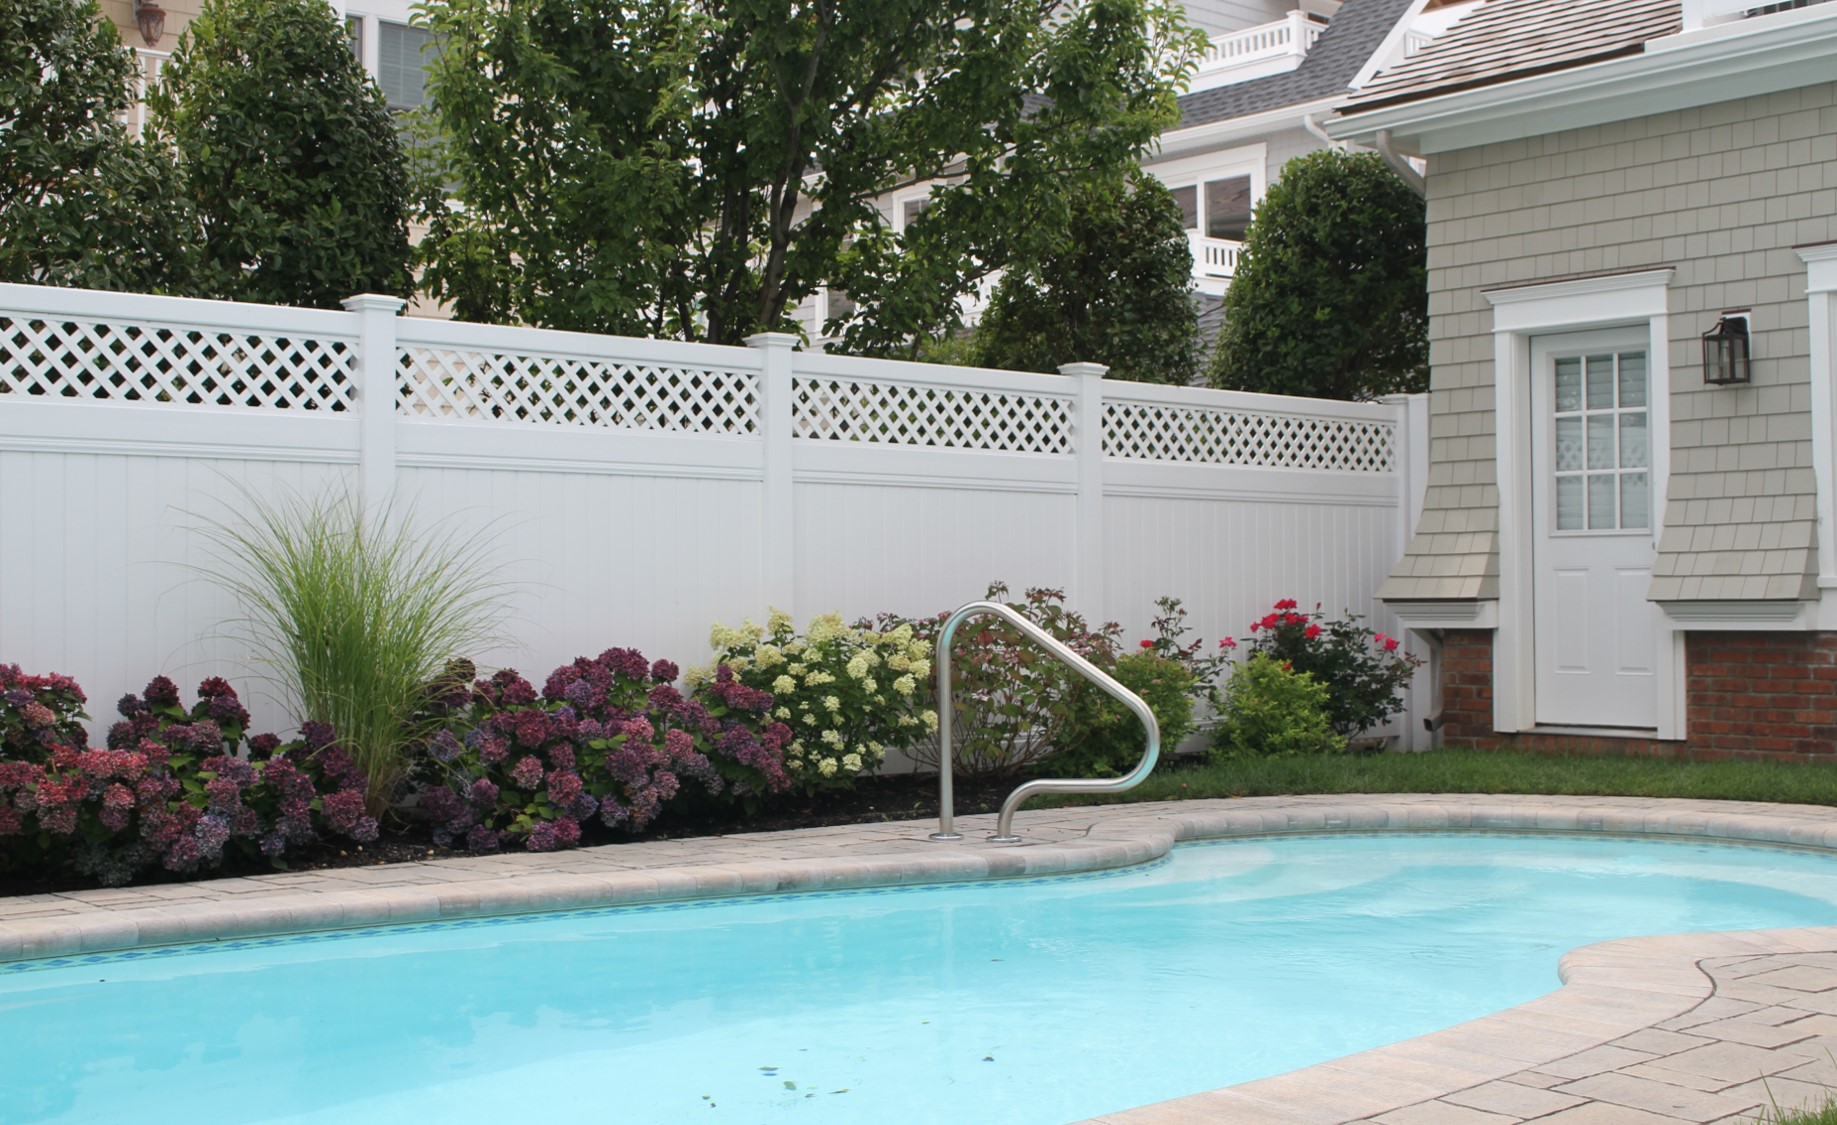
When Melissa Woods, blogger and DIYer at Welcome to the Woods, reached out to us about installing one of our vinyl privacy fences, we were excited to work with her. Melissa wanted a privacy fence because her yard backs up to a busy road, and she knew that having a fence would make her property feel more secluded as well as safer for her family.
Before installation, Melissa had some decisions to make. She knew she wanted one of our WoodTone fences. She also knew she wanted smooth railings, instead of deco rails, simply because she preferred the smooth look. That narrowed her options down to the Nantucket, because our other smooth rail privacy fence is not available in WoodTone. Then she had to choose between colors Seasoned Pine or White Pine. In the end, after looking at many photos, she chose Seasoned Pine for its darker, more weathered look. And finally, she chose flat caps because she wanted the simplest cap we offer.
Now: the installation. Melissa showed us exactly how a busy mom can DIY a vinyl privacy fence in her installation video. The biggest part of the job, as you can see, is setting the posts and making sure they’re level. Melissa hired her neighbor (who brought along his very handy cement mixer) and rented a Dingo with a hole drilling attachment. This simplified the job immensely. Once they had the posts set, installing the railings and panels was easy—especially with Nantucket’s snap-lock panels.
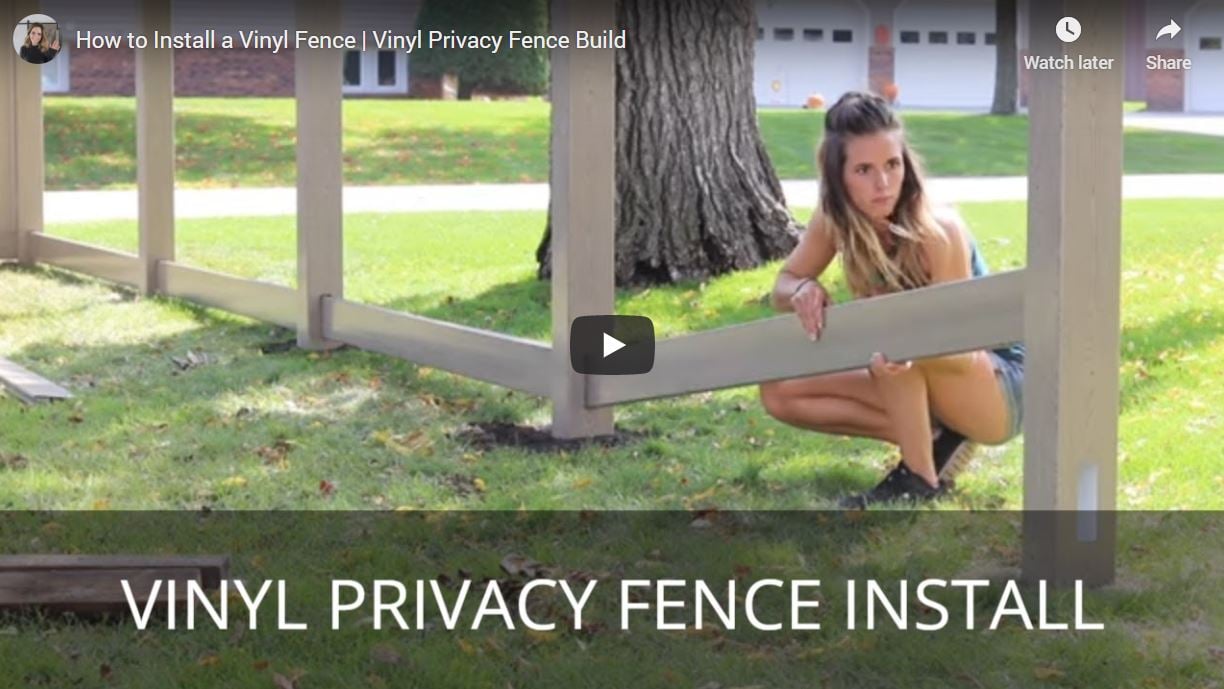
If you are considering installing a privacy fence yourself, make sure to watch Melissa’s video to see what it takes and if it’s a project you want to tackle. If you want to install Superior fencing, you can see all of our offerings on our website and find a dealer through our Dealer Locator.